

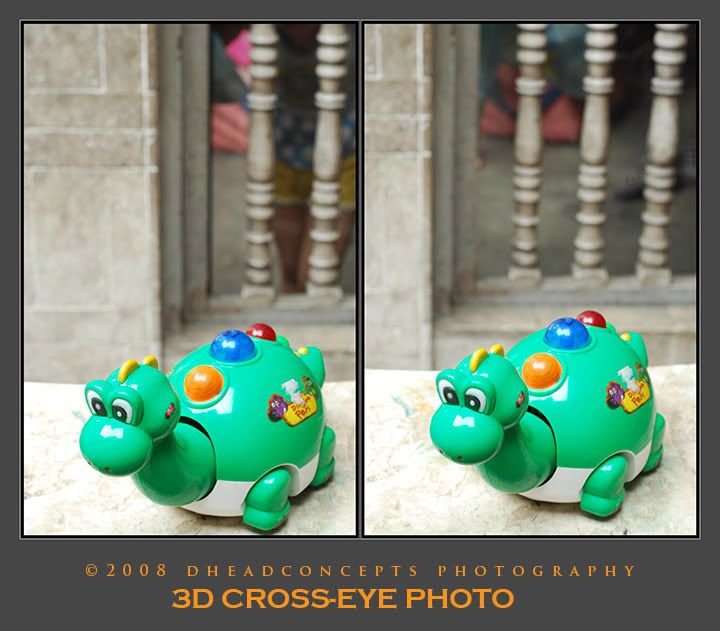
3D cross-eye photo....
How to do it
- Sit square in front of your monitor, with the image directly in front of you, at about arms length
- Sitting further back makes it easier - you dont need to cross your eyes as much - but makes the image look smaller
- Make sure you keep your head level horizontally, tilting your head will prevent you from merging the images
- While keeping the stereo pair of images in the centre of your vision, slowly cross your eyes
- The stereo pair will go out of focus and you will seem to see four images, as shown in the animation above
- If you find it hard to cross your eyes, it can help to hold a pen in front of you and look at the tip with the stereo pair in the background
- Gradually cross your eyes more and more - if using a pen to assist, start it close to the monitor and move it towards your nose
- Continue crossing your eyes more, untill the centre two of the four images overlap and you see three blurry images, as in the animation above
- Try and hold the centre image together - it is possible to lock it in place and see it as one image
- The locked centre image should appear in 3D!
- Now the tricky part, focus - while holding the 3D image in place, relax your eyes - drop the pen from your field of view if you are using it
- If you can keep the 3D image locked and relax your eyes, it should eventually pop into focus, as in the last frame of the animation above
What you are doing here is causing your eyes to look at a space between you and the monitor, but focusing the lenses on the monitor. Our eyes never naturally need to do this, so it can be tricky to do at first.
Why crossed eyes?
When overlapping stereo pairs without special glasses, you can get the 3D effect by crossing your eyes or diverging your eyes. I prefer the crossed eye method. I find it easier to control, and it is possible to view larger 3D images than with the diverging technique.
more info here:
How to see 3D photos
How to take 3D photos
Results 1 to 10 of 54
-
11-19-2008, 03:53 PM #1C.I.A.


- Join Date
- Dec 2006
- Posts
- 3,161
 3D Cross-eye Photos(bag-o nako gikabuangan)
-
11-19-2008, 04:11 PM #2Elite Member

- Join Date
- Aug 2005
- Posts
- 1,820
nah, kasukauon ko ut tinutok... 3D lagi pero human nimo ug libat, mora kasukaon man nuon ko! :P
-
11-19-2008, 04:20 PM #3C.I.A.
- Join Date
- Dec 2006
- Posts
- 3,161
 Originally Posted by pandisal

LoL.... hahahahaha...
another one:

-
11-19-2008, 04:54 PM #4C.I.A.

- Join Date
- Aug 2004
- Posts
- 14,397
mas mo pop out ni..
http://www.flickr.com/photos/2376109...7602391470936/
di ni ma kaya ang pp sa photohshop?Last edited by P-Chan; 11-19-2008 at 05:03 PM.
-
11-19-2008, 05:11 PM #5C.I.A.
- Join Date
- Dec 2006
- Posts
- 3,161
^^ bro pchan... murag dili kaya sa photoshop ni...
-
11-19-2008, 05:14 PM #6C.I.A.
- Join Date
- Mar 2008
- Posts
- 5,850
lisura ug tutok oi. hahaha
-
11-19-2008, 05:29 PM #7
bai szichri unsay makita diay nako dpat pag magcross eye ko?
murag lingaw lagi ni ai...
-
11-19-2008, 05:43 PM #8Elite Member
- Join Date
- Aug 2005
- Posts
- 1,820
sus, kuha na bai, mura ra atong 3d pattern... pero mura sakit ako mata na dah... maka addic!

kani kay mura gyud hing gawas iya tudlo...
-
11-19-2008, 05:48 PM #9
- Join Date
- May 2008
- Posts
- 1,924
kuyawan ko di na nya mo balik ako mata...hhaha
-
11-19-2008, 05:59 PM #10C.I.A.
- Join Date
- Dec 2006
- Posts
- 3,161
mulutaw ang photo bai... murag naa sa 3 dimensional space... Originally Posted by makatasawi

 Reply With Quote
Similar Threads |
|
 Posting Permissions

|