


I posted some images in the 60D thread and someone ask for a tutorial. So I decided to make a new thread since I tried to search for old threads, I didn't find this topic. So here it is.
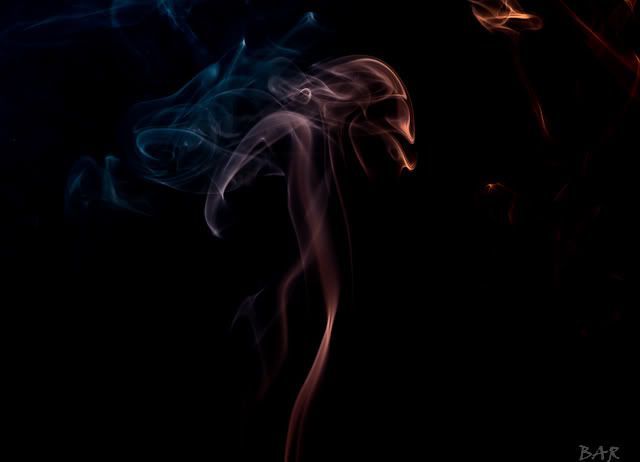
1. material used to produce smoke is an incense stick (kanang gamiton sa mga insik for prayers).
2. any lens will do, but for best results, you may use a macro lens.
3. lighting: in these photos, i used 2 flashes (right and left side of the smoke) with blue and orange gel. it is also ok to use one flash. if you don't have a gel, you may tweak the colors in LR or PS.
4. black background is recommended.
5. i used a study lamp to brighten the tip of the incense stick and also the area where the smoke will be so you can focus easily on the subject since the area (room) should have minimal ambient light.
6. camera settings: ISO 125, 1/200, f9, handheld
7. flash settings: manual @ 1/4 power
8. light up your incense stick and take your shots. minimize any air movement so the smoke will be on one area only. you may blow some air to cause some desired (controlled) movement on the smoke.
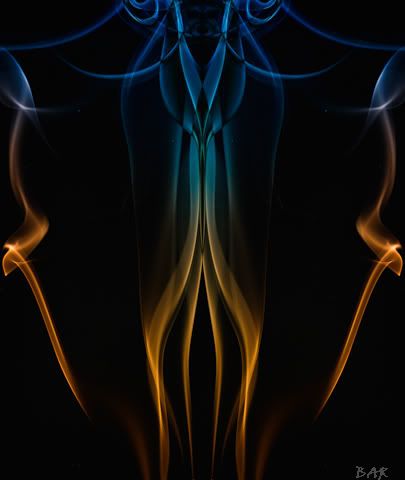
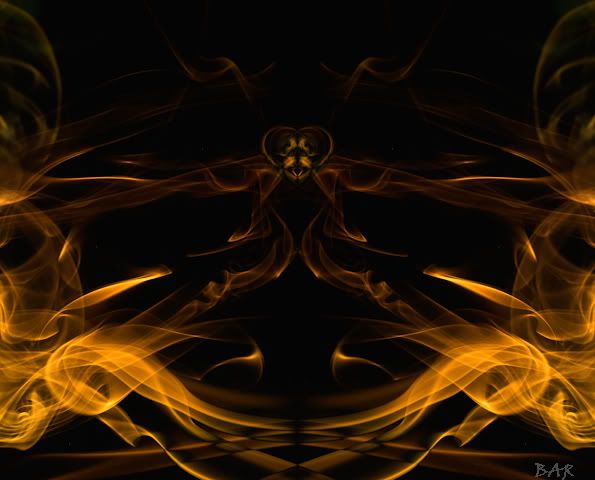
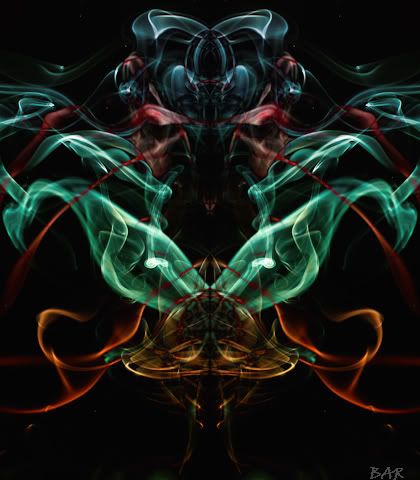
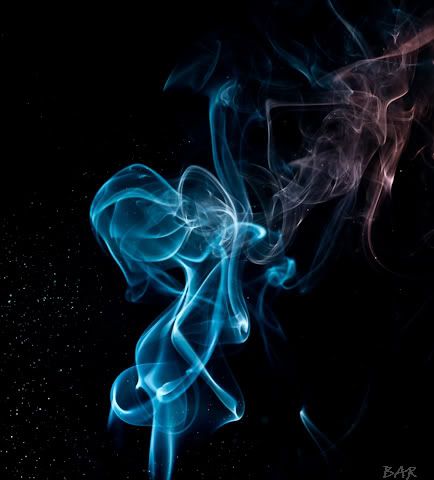
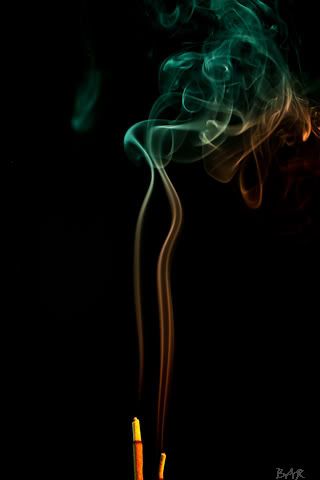
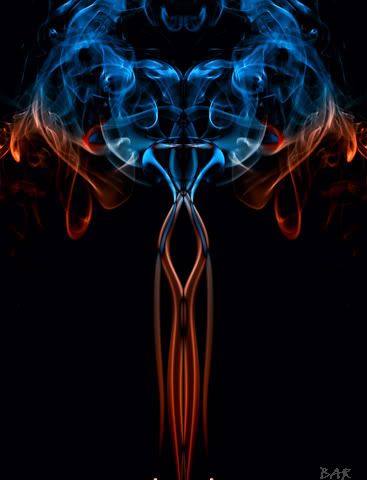
9. Post Processing: basic adjustments in LR3. making the background solid black makes the smoke pop out on your image. bring your image to PS (i used CS2). make two layers from the original image and flip one of the layers horizontally or vertically depending on your desired output. merge the 2 layers making some sort of a mirror image of the original photo. then tweak the colors. i used NIK plug ins for the final photos. here are my sample photos.
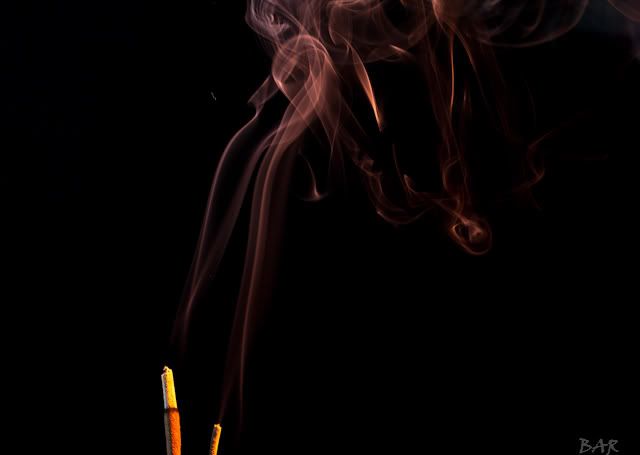
original:
merged mirror image
original
merged mirror image
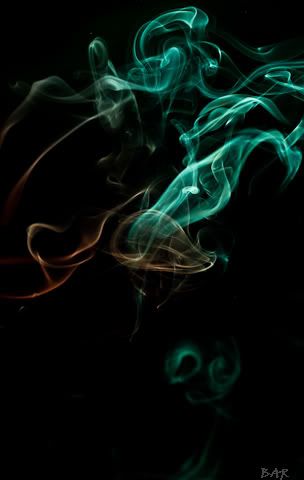
original
merged mirror image

Results 1 to 10 of 13
Thread: Smoke Photography with a Twist
-
08-29-2011, 06:30 PM #1Senior Member


- Join Date
- May 2010
- Gender

- Posts
- 652
 Smoke Photography with a Twist
-
08-29-2011, 09:15 PM #2Elite Member

- Join Date
- Jan 2010
- Gender
- Posts
- 1,499
Re: Smoke Photography with a Twist
Bro imo mn gyd ghatag ako request hehehe salamat kaau...
Very nice photos bro
-
08-30-2011, 07:32 PM #3Senior Member
- Join Date
- May 2010
- Gender
- Posts
- 652
Re: Smoke Photography with a Twist
more of my smoke photography shots:
original:

merged mirror image
original:
merged mirror image:
original:
merged mirror image:
-
08-30-2011, 08:34 PM #4Elite Member
- Join Date
- Mar 2007
- Gender
- Posts
- 1,312
Re: Smoke Photography with a Twist
wew,, chuyaaaaa sa mirror.. hehe nice set
-
08-30-2011, 09:03 PM #5 Re: Smoke Photography with a Twist
nice concept! hehe mura mag mga yawa~ nice!
-
08-30-2011, 09:08 PM #6C.I.A.

- Join Date
- May 2009
- Gender

- Posts
- 2,415
Re: Smoke Photography with a Twist
wow! nice work.......

-
09-02-2011, 01:45 PM #7Elite Member
- Join Date
- Jan 2010
- Gender
- Posts
- 1,499
Re: Smoke Photography with a Twist
AKong gisulayan bro, makakita mn tag
 ani bro

-
09-02-2011, 01:58 PM #8C.I.A.

- Join Date
- Oct 2008
- Gender
- Posts
- 2,738
Re: Smoke Photography with a Twist
nganu naa may lain2 nga color bro? ang background na nya nga light ang ni color sa smoke?
-
09-02-2011, 04:12 PM #9Elite Member
- Join Date
- Jan 2010
- Gender
- Posts
- 1,499
Re: Smoke Photography with a Twist
kana kang brenz bro ky murag naa na gel gbutang sa iya flash. kanang akoa bro ky adjust ra na sa color balance sa photoshop
-
09-02-2011, 07:39 PM #10Senior Member
- Join Date
- May 2010
- Gender
- Posts
- 652
Re: Smoke Photography with a Twist
naay gel akong flash ana. pero ok ra pod if wala, tweak lang sa WB, then experiment pod sa blending mode sa PS, akong gigamit ana akoa ky "difference" nga blending mode.


 Reply With Quote
 Advertisement
Similar Threads |
|
 Posting Permissions

|